Language
 EN
 ES
 RU
 DE
 EL
 IT
 JA
 KO
 PT
 ID
 SR
 UK
 VI
 TH
 TR
 MS
 BE
 AR
Common Rail Injector Repair: What Can Actually Be Repaired, and When Replacement Is the Right Call
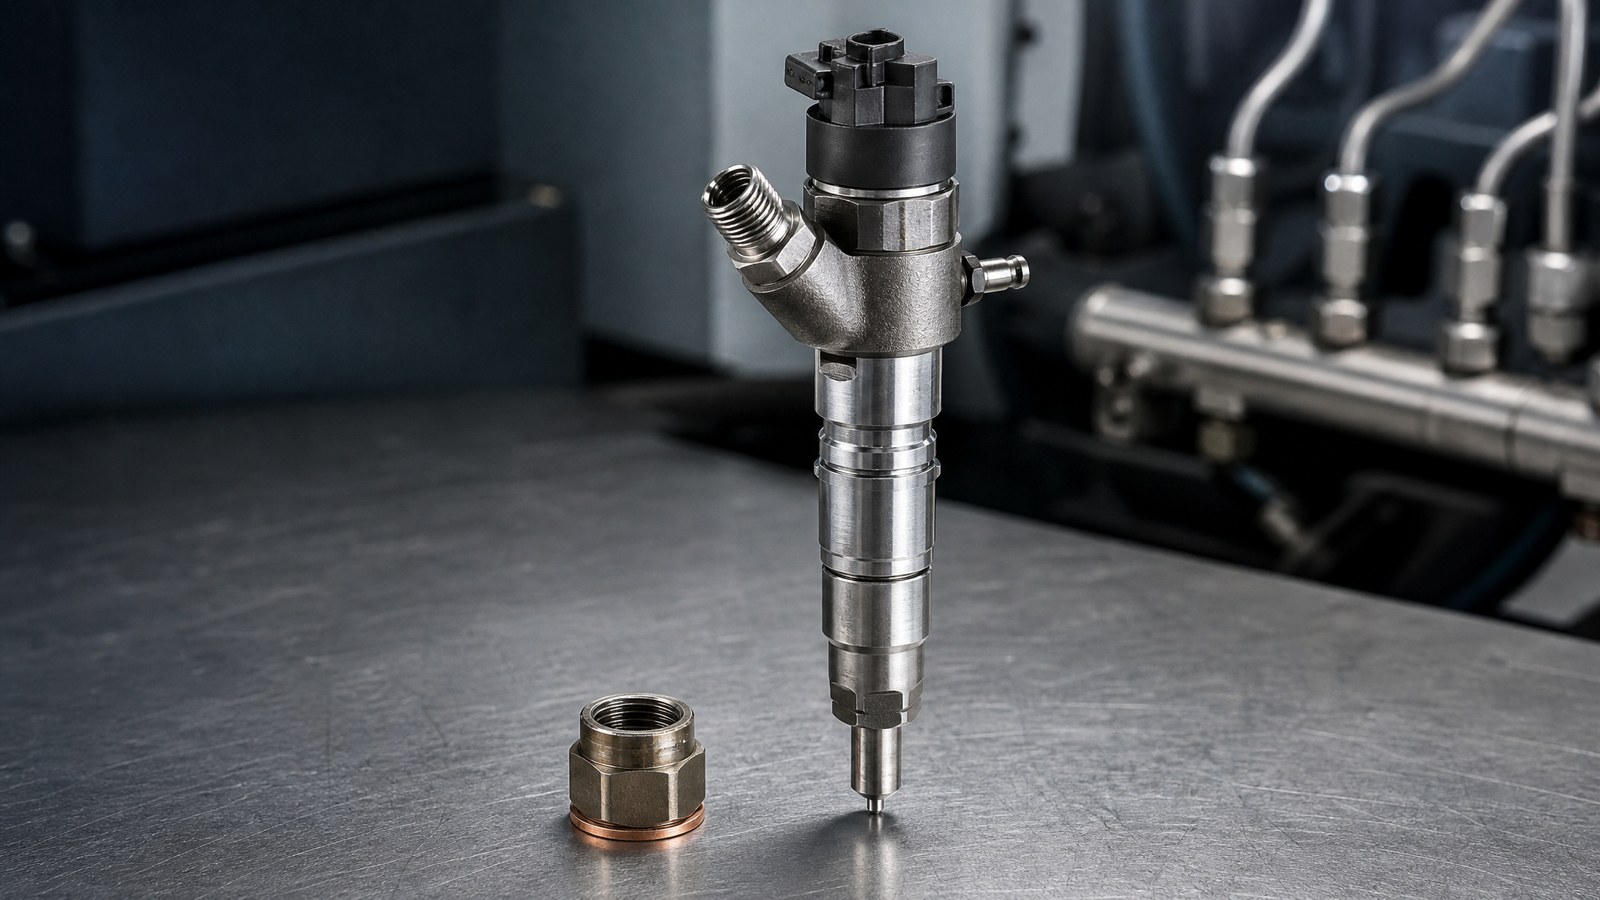
“Can this injector be repaired?” is one of the most common questions in a diesel workshop, and one of the most frequently answered too optimistically. In practice, “repair” covers two very different activities: cleaning an injector that is essentially healthy, and reconditioning an injector whose precision surfaces have physically worn. Only the second one restores performance, and only some injectors are candidates for it.
This guide breaks down what wears inside a common rail injector, what a genuine repair involves, how to decide between repair and replacement, and how to prove the result before the injector goes back on the engine.
Why “Injector Repair” Is Often Cleaning in Disguise
A workshop receives an injector with a rough idle complaint. It goes into an ultrasonic bath, comes out visually clean, passes a quick back-leakage check, and is refitted. Two weeks later the complaint returns.
The reason is straightforward: contamination is a cause of malfunction, but wear is a loss of material. Cleaning removes deposits from surfaces that are still geometrically correct. It cannot restore a valve seat that has been eroded, a needle guide that has opened up, or a control piston clearance that is now outside specification. If the diagnosis points to internal leakage or unstable delivery, cleaning is a cosmetic fix at best.
A genuine repair means measuring the worn surfaces against the manufacturer's limits, replacing what is out of tolerance, re-establishing the correct internal dimensions, and then proving the result under load.
What Actually Wears Inside a Common Rail Injector
Control Valve and Valve Seat
The control valve opens and closes millions of times against its seat at rail pressure. Impact loading, cavitation and particle abrasion erode the sealing geometry. Once the seat no longer seals cleanly, control-chamber pressure leaks away, return flow rises and the injector loses its ability to meter precisely. In most designs the valve and seat are replaced as a matched set rather than refinished.
Nozzle, Needle and Guide
The nozzle assembly is the second high-wear area. Needle lift, opening pressure, spray pattern and seat sealing all degrade together. A worn needle guide allows internal bypass; a damaged seat causes dribble and poor combustion. Nozzles are normally replaced, not reworked, unless the manufacturer explicitly permits lapping and provides limits.
Control Piston and Internal Clearances
Between the control valve and the nozzle sits a chain of precision fits: control piston, valve stem, spring guides. Each contributes to hydraulic behaviour. Wear here shows up as slow response, unstable pilot delivery, or a return flow that is high but not extreme. These clearances are set by component matching, not by adjustment, which is why mixing parts from two injectors so often produces an injector that never tests clean.
Solenoid or Piezo Actuator
Electrical faults fall into two groups. Coil resistance drift, shorted windings, damaged connectors and corroded terminals can sometimes be resolved by replacing the actuator or the connector assembly. Piezo stacks, by contrast, are not a field-repairable item in most designs — and they are the component most often damaged by improvised handling.
Housing, Sealing Faces and Threads
Cracked bodies, distorted clamping faces, damaged high-pressure seats, stripped threads and corrosion in the return passage are terminal. No amount of parts replacement will bring back a housing that can no longer seal or locate correctly.
Repair or Replace? A Practical Decision Matrix
| Condition found | Repair viable? | Recommended action |
|---|---|---|
| Contamination only, all measured values within limits | Not a repair case | Clean, flush the fuel system, refit |
| Nozzle worn, control valve within limits | Yes | Replace nozzle, set opening pressure, bench test |
| Control valve seat eroded, body intact | Yes | Replace valve and seat as a matched set, bench test |
| Excessive internal clearance across several precision fits | Usually no | Replace the injector; part matching is not economically reproducible |
| Coil open circuit or shorted windings | Sometimes | Replace actuator where the design allows; otherwise replace |
| Piezo stack degraded | No | Replace the injector |
| Cracked body, damaged high-pressure seat, corroded return passage | No | Replace the injector |
| Injector already repaired outside specification once | Case by case | Inspect carefully; multiple reworks usually mean replacement |
The economically important row is the fourth. A single worn nozzle is a straightforward repair. An injector with three or four worn precision interfaces is a parts-donor, not a repair candidate — and returning it to service is how workshops earn a repeat-failure reputation.
The Eight-Step Reconditioning Workflow
Identify before you touch it. Record the brand, full part number, and the existing correction code. Select the matching test plan. Two injectors that look identical can require different shims, different opening pressures and different test points.
Test it as received. Run a baseline bench test before disassembly. A “before” record is the only way to prove afterwards that something improved, and it often reveals that the fault is external — a leaking return connector, a blocked inlet filter, a wrong adapter.
External cleaning. Remove external contamination before opening anything. Grit that enters during disassembly becomes the next failure.
Controlled disassembly. Work in a clean, dedicated area. Keep every injector's components together; do not let shims, springs or valve parts from different units mix.
Inspection and measurement. Check the control valve seat, nozzle seat, needle and guide, piston clearances, spring free length, sealing faces and electrical values against the manufacturer's limits. This is the step that decides repair versus replacement.
Parts matching and adjustment. Fit matched, traceable components. Then set the model-specific dimensions — armature lift or air gap, dynamic stroke, nozzle opening pressure — with the specified shims, using measurement rather than judgement.
Assembly and torque. Assemble to the specified torque sequence in the specified cleanliness. Under-torque leaks; over-torque distorts seats and changes internal clearances.
Bench test, then code. Test every required point, not just back leakage. Generate the new correction code where the injector type requires it, and record the before/after results.
Where Repeat Failures Actually Come From
| Mistake | What it causes | Prevention |
|---|---|---|
| Reusing old shims with a new nozzle or valve | Wrong opening pressure, wrong delivery | Always re-measure and re-shim |
| Mixing parts between injectors | Unpredictable leakage and response | One tray per injector, one at a time |
| Dirty assembly area | Scored seats, early second failure | Dedicated clean bench, filtered air, lint-free handling |
| Calibration fluid out of temperature | Non-repeatable test results | Stabilise to the test plan temperature before judging |
| Testing only return flow | A “good” injector with wrong delivery ships out | Full test plan: leakage, delivery, pilot, response |
| Skipping the correction code | ECU runs with the wrong map, poor running and new fault codes | Code every repaired injector before refitting |
| No “before” record | Cannot prove the repair or spot a misdiagnosis | Baseline test on receipt, always |
What the Test Bench Must Be Able to Prove
A repair is only as good as the verification behind it. Judging a reconditioned injector by back leakage alone is the single most common cause of comebacks: an injector can show acceptable return while its delivery curve is still wrong.
A capable bench must hold rail pressure stable, control calibration-fluid temperature, run the full set of test points in the manufacturer's plan — idle, pilot, medium and full load, plus response time — and produce a correction code the ECU can accept. Multifunction platforms such as the CR1017 common rail pump and injector test bench are built around exactly this requirement, covering CRI, CRP, EUI and HEUI work in one station so that a workshop can verify repairs across mixed fleets instead of sending them out.
Coding and Documentation: The Step Most Workshops Skip
On most modern common rail systems the injector carries a correction code — IMA/IQA or the manufacturer's equivalent — describing that individual unit's delivery deviation. Fit a repaired injector without writing the new code and the ECU keeps trimming fuel against the old unit's characteristics. The result is rough running, uneven cylinder contribution and fault codes that look like a failed repair.
Documentation matters for the same reason. A record containing the part number, “as received” test results, replaced components, adjustment values, final test results and the new code turns a repair into a traceable service. It also protects the workshop when a customer returns six months later with an unrelated complaint.
FAQ
Can a common rail injector be repaired more than once?
Sometimes, but the margin shrinks with each rework. Seats and housings lose material each time they are disturbed, and the second repair often needs matched parts that are no longer available for that revision. If the injector has already been reworked outside the manufacturer's specification, treat replacement as the default.
Is ultrasonic cleaning enough to fix a high-return injector?
No. Cleaning removes deposits; it does not restore eroded seats or worn clearances. If the measured return exceeds the limit for the correct test plan, the fault is dimensional and requires component replacement, not cleaning.
Why does a repaired injector need a new correction code?
Because the code describes the delivery behaviour of that specific injector. After replacing a nozzle or valve, the behaviour has changed, so the previously stored code no longer matches the hardware. Without the new code, the ECU compensates in the wrong direction.
How long should a repaired injector last?
That depends on fuel quality, filtration, contamination during installation and the quality of the parts used — there is no honest single figure. What can be controlled is the process: matched parts, measured adjustments, a full bench test and correct coding. A repair that skips any of those steps shortens its own life.
The Short Version An injector is repairable when the worn parts are replaceable and the housing and precision fits are still within tolerance. It is not repairable when wear has spread across multiple precision interfaces or the body has lost its sealing geometry. Deciding that correctly requires measurement, not judgement — and proving it requires a bench test that covers delivery, leakage, response and coding, not a single back-leakage check.
Related products
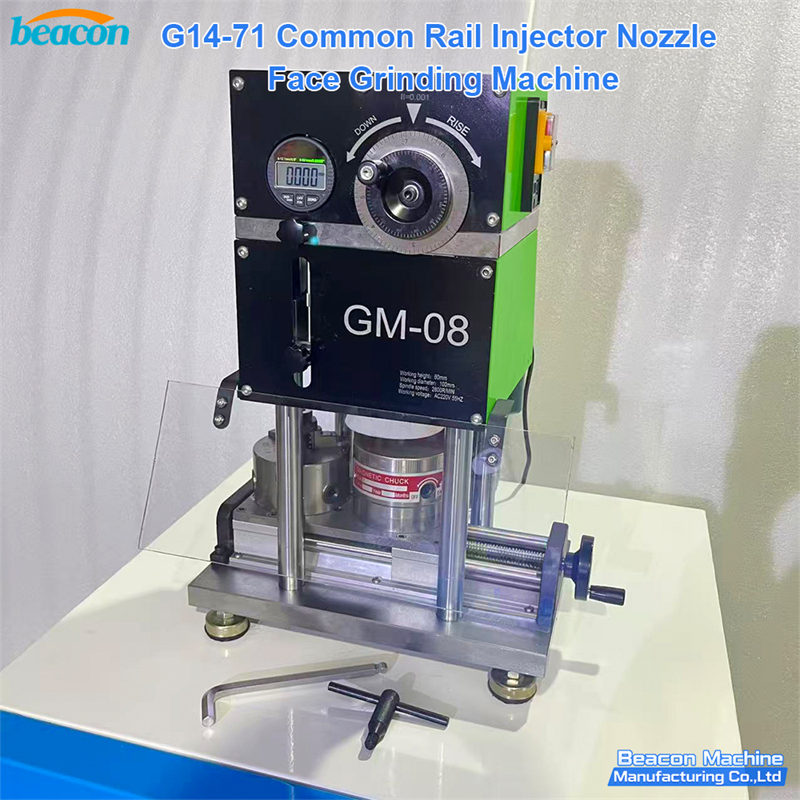
G14-71 Common Rail Injector Nozzle End Face Grinding Machine

CR318-PRO HEUI Common Rail Injector Test Bench for CAT C7 C9 3126 Fuel Injection Calibration Machine

QR-1000S Diesel Fuel Electronic Common Rail Injector coding Tester for Testing Magnetic and Piezo Injectors

G10-29 Bosch Piezoelectric Injector Repair Tool

EUI EUP HEUI Common Rail Injector Pump Test Bench for HP0 Injector Testing

CR918-PRO Upgraded Diesel Common Rail Test Bench Multi-Function Fuel Injector Pump Test Machine
We'll get in touch with you via WhatsApp or email in 12 hours.
about beacon
PRODUCTS
contact us
TEL: 0086-13375386297
WhatsApp:+86-13375386297
Email: jamesjing@beacon-machine.com
Add: High Technology Industrial Park of Taian city,Shandong province,China